Saturday, December 21, 2013

Rear Wheel

Rear wheel laced and ready to be trued.
Amazingly, I didn't have to tear this one apart to start over even once!
It's amazing for two reasons,

  1. I'm generally incompetent
  2. 2. A rear wheel uses two different lengths of spokes; drive side & non- drive side. This is due to the amount of "dish" required to keep the center of the rear hub in line with the center line of the bike. If I'm going to screw something up, give me two mis-matched parts and a lack of clear instructions, turn me loose and watch the "magic" happen. Again, amazingly, the dish is correct before tuning!

I'm off to buy powerball tickets, just in case!

Friday, December 20, 2013

Front Wheel

It's been awhile since my last update. I had to let the bank account catch up ;) So, I've purchased a few tasty items to use on the bike, most of all, Wheels! Velocity Dyad 700c 36Hole MSW.

I decided I'd build the wheels up myself, just for the learning experience. It was only a $50.00 difference between building them myself, and having a shop do it. To be honest, I should have gone with the shop option as it took a good 6 hours of assembling, evaluating, disassembling, reassembling, etc.
I'm not sure the $50.00 savings was worth the frustration.

Anyway, the front wheel is laced. Since I'm a bit of a fatty, I laced it cross 4, which is supposedly stronger than cross 3 which is the most common lacing pattern.
I still need to tune the wheel, but I'm so tired of fooling with it right now, I'm going to take the rest of the night off. I also need to build the rear wheel, but that's going to have to wait for another day.

Once I've built both wheels, I'll be able to line up the p-clips for my racks a little more accurately, and take the frame in to have brazeons installed, which is a whole rant in itself. Stupid bike company building a road bike without even water bottle brazeons.

That's all for tonight, I think. Have a good weekend and Merry Christmas everyone!

Saturday, October 19, 2013

Bottom Bracket, Crankset, Rear Hub, & Cassette

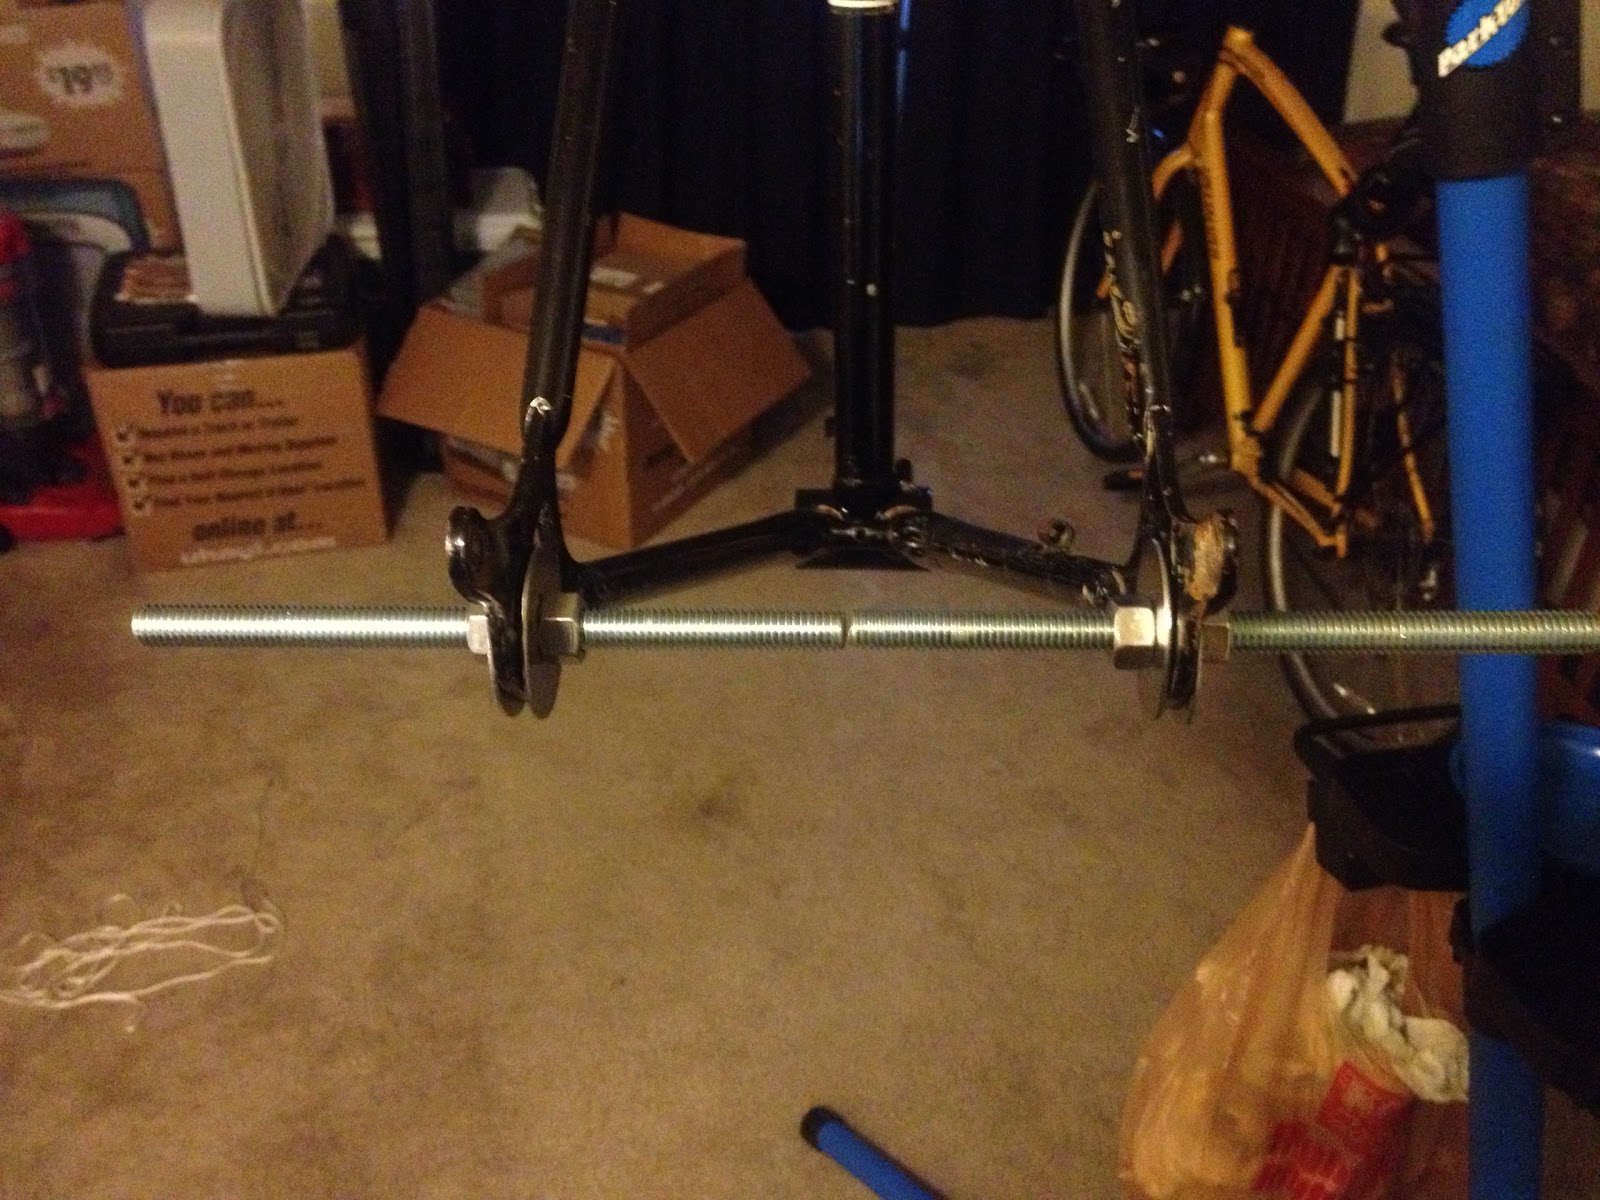
New parts came in last night, and I spent some time today mocking the bike up. I'm not going to torque things down just yet, I'm just test fitting at the moment.

So, New Toys!
Shimano BB-UN55 - These are available in various sizes and I think they are way better than rebuilding the original bottom bracket, just from a dependability standpoint. I went with 107 x 68 to, hopefully, get the chainline I need with my crankset.

The UN55 is a good replacement for the original Raleigh BB Cups, and is threaded British/ISO @ 24TPI. It comes with an Aluminum off-side cup, unlike the nearly exact UN54 which uses a plastic cup.
I applied a liberal coat of grease to the thread on each cup and installed the drive side first. The BB threads weren't as clean as I thought they were, and I had to stop and completely back things out a couple times, then I went into the BB with a thread chase/gauge and cleaned things up a little bit more.
The drive side will bottom out when fully installed. The non-drive side doesn't have an obvious "stop" on the cup, so it needs to be eyeballed so that it's even with the BB shell.
Crankset installed. Mmmmm, lookin' goooood!

I also installed the new cassette on the rear hub.
Shimano CS-6500

Aaaaannnd, then it got ugly.
The rear derailleur hanger bolt sits about 1mm away from the lock ring on the cassette. It's close enough that if I tighten the hub skewer too tight, it'll touch the lock ring, and cause the rear hub to bind.
I've been able to find very little info on the internet about this, other than the rear dropout is likely bent. I tweaked it about with a crescent wrench and managed to improve things a little bit, but I think it's going to require an expert before I'll feel comfortable riding it.
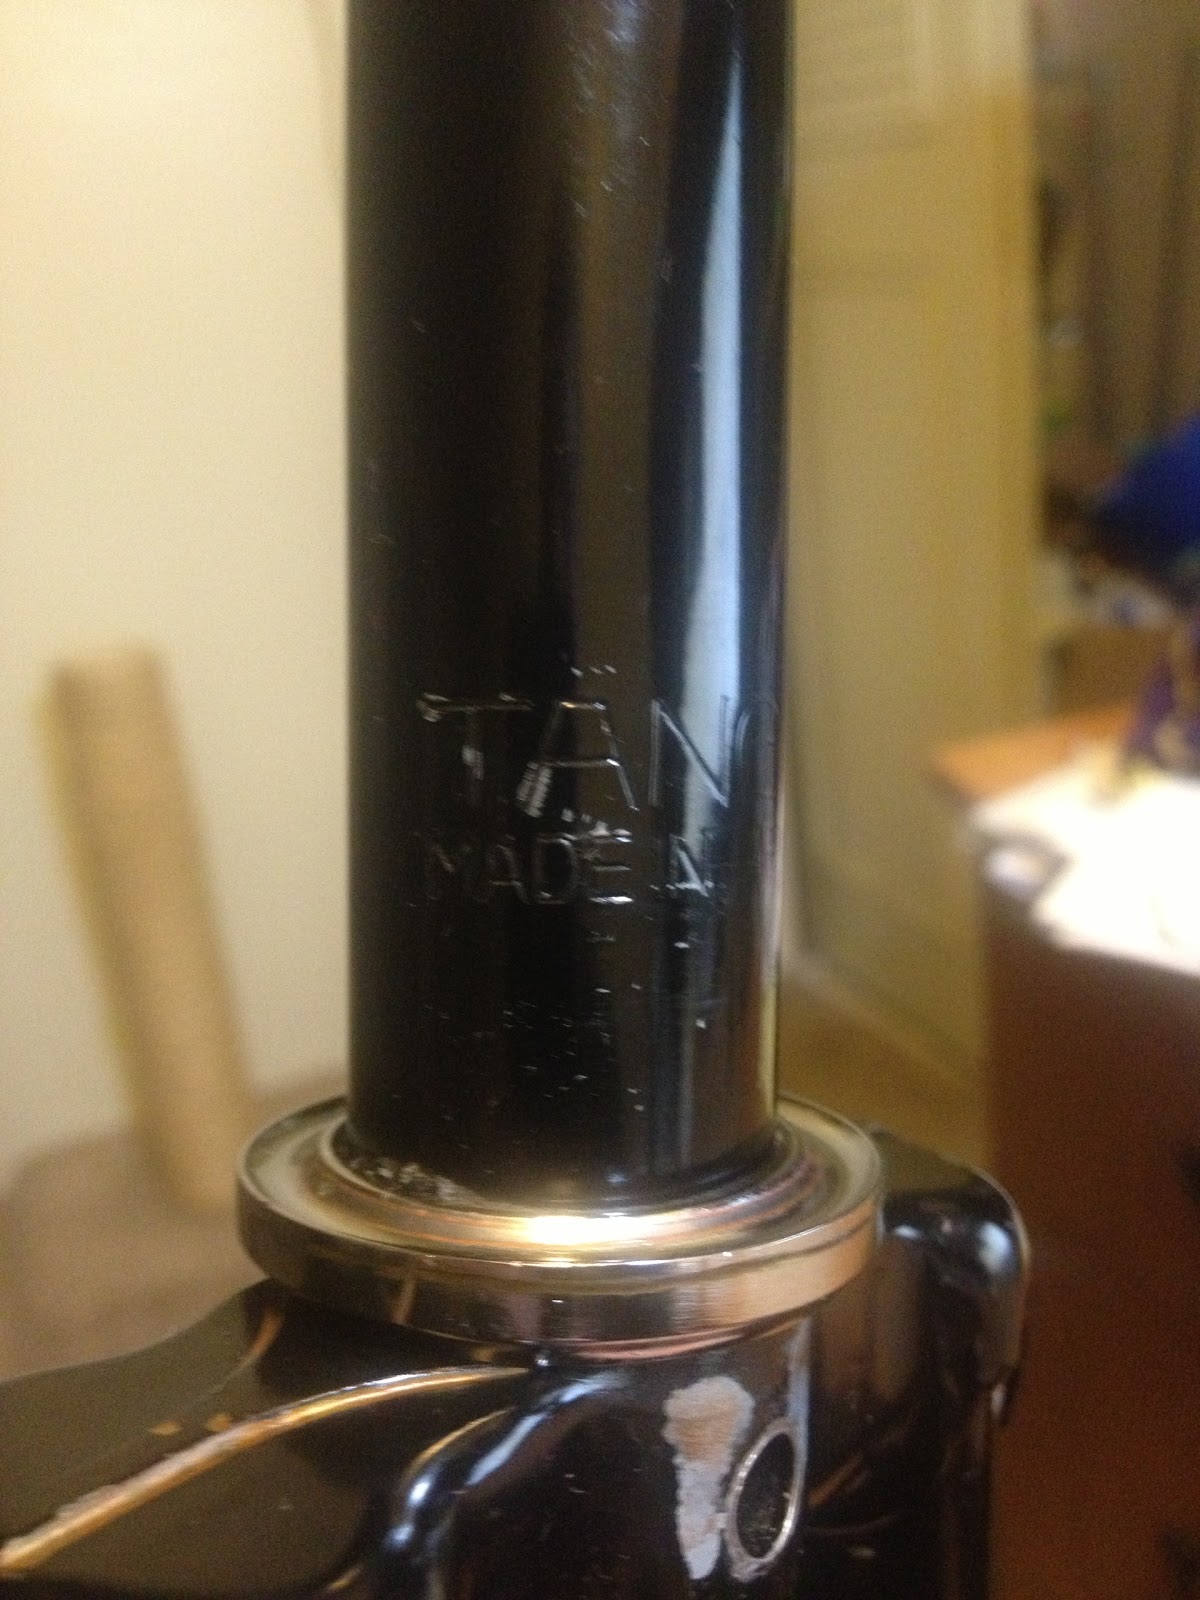
Sorry, I really, really tried to get a clear photo, but the iPhone camera just can't deal with close up stuff.

That's it for now. I've got a rear derailleur coming on a slow boat from China, literally, and it'll be a couple of weeks before it gets here. Once that comes in, I think I'll get the frame into the shop and see if I can get the dropout fixed up enough to be able to actually ride this thing safely.

Saturday, October 12, 2013

Coldset & Alignment

I decided I would coldset the rear triangle yesterday, and check the frame for alignment. I used instructions I found online at The Plano Cyclist. It took about an hour, as I was being super careful to not hork things up. Long story short, the rear hub now fits beautifully.

I checked the frame alignment using a bit of cord wrapped around the bike. It was 2" on the left side, and 2.25" on the right. I'm not sure if that's factory, and I have no way of checking really. I'm going to assume it to be correct, and if I discover later that it's not, it'll be super easy to throw the bike on the work stand and start tweaking things.
I checked the measurements after I spread the frame, and they were the same. That's actually a good thing, as it means the triangle stayed "square" throughout the coldsetting process.

I also checked the rear dropouts for alignment, using the instructions I found on Seldon Brown's website. I used a couple of pieces of all-thread, rather than using a couple of old axles. It looked almost perfect, and a bout of pushing and pulling on the all-thread brought the dropouts into perfect alignment. I didn't even have to use a hammer.

I also went to the Post Office and picked up my newest bit of goodness for the bike.
Shimano 105 FC-1056 (eBay - $208.74 w/Shipping)
Super sexy. The eBay ad said there was some shop wear, but dammed if I can find it. If I didn't know this set was NOS, I'd swear it was brand new.

That's it for today, have a great weekend all. :)

Saturday, October 5, 2013

Front & Rear Hubs

Good News Everyone!


I went to the post office this morning and picked up my new hubs.

Front Hub: Shimano 105 HB-5600 36Hole w/QR Skewer Silver ($23.98 eBay w/Shipping)
Rear Hub: Shimano 105 FH-5700 36Hole w/QR Skewer Silver ($56.60 eBay w/Shipping)


The front hub fits just fine without any modification to the fork.

Amazingly, the rear dropout spacing is almost perfect as well. I'll still need to coldset the frame, but I only need to spread it about half an inch at most.

I think I'll try to work on that next weekend. I'll need some All-thread, Nuts, and Washers. Time to go to the DIY store!

Friday, October 4, 2013

Headset & Bottom Bracket

So, I've managed to get a little dis-assembly work done on the Raleigh. I've taken apart the headset, and the bottom bracket.

Measurements for future visitors:
Bike: Raleigh Super Record
The BB Cups Threading is 24TPI
The BB Shell is 68mm Wide
The Spindle that was installed in my Raleigh is marked 3T. I've no way of knowing if it was original or not, though I suspect it was based on the chainline.
The "3" means it's for a 68mm bottom bracket, and the "T" means the dimensions are 32-52-39, or 123mm overall, with the right side 7mm longer than the left.
See Sheldon Brown's chart for more measurements.
Spindle Bearings: Spindle Bearings are 1/4"

Headset Bearings: Headset Bearings are 5/32"
Steerer Tube: 1"
Steerer Tube Thread: 24TPI
Steerer Tube/Fork is marked Tange OL Made in Japan.

(Apologies for the crappy iPhone pictures, it's all I have.)

I can't imagine the life this bike lived before I bought it, but to say it was neglected is being kind. The grease in the headset had completely broken down. All that was left was a black looking wax, and there wasn't much of that left either.

While I was cleaning and inspecting things, I found the Stem Wedge inside the steerer tube. I tried to tap it out with a long screwdriver, but it wouldn't budge. I sprayed some WD-40 into the top and bottom of the tube and set it aside for about a half hour. Then sprayed it out and set it aside again for another half hour. Then I tried again to tap it out with the screw driver. The wedge fell right out. I suspect it was just rust and dirt holding in place.


I went over the headset races with a ball point pen, and they're not in very good condition.
I'm not sure what I'll do. I could rebuild this headset, and probably get a few more years of service out of it, or replacing it with a Vintage/NOS Shimano 105/Ultegra/Dura Ace Headset would be a good idea. Also, Velo-Orange.com offers a headset that I really like. The Grand Cru Rinko Headset-JIS.
The idea is that it can be easily taken apart to park the bike into a bag for transport. One of those would make it a fair bit easier for me to dis-assemble the bike to take on vacation, and while they're expensive, a NOS headset would probably be just as expensive. I'll have to think about it.

Alright, that's enough for one night.

Sunday, September 1, 2013

I need a wedgie.

It's Tour de Fat time again here in Fort Collins, so I though I would re-assemble the Raleigh and take it for a ride. Sadly, it was not to be. The rear wheel Axle was bent badly and the quill stem is missing the wedge that keeps the stem in place.

So Tuesday after work, I'm going to ride over to the nearby bike shop, Brave New Wheel and see if they have anything I can use. They do a lot of resto/repair work on vintage bikes, so hopefully they'll have some parts or at least some guidance for me.

I knew there was a fair bit of rust on this bike, when I bought it, but yikes it's really bad. I'm going to be spending a lot of time cleaning & polishing parts.

I'm also trying to gather more info about this bike, but some of the things I'm discovering don't make a lot of sense in the overall context of Raleigh bikes.

In 1982, the Huffy Corporation began building bikes for USA distribution, under license by Raleigh of England. The new Raleigh Cycle Company of America bikes were sold in the US, and the rest of the world received Raleigh of England bikes.

As of 1984, all USA Raleigh's, except the Team Professional and the Prestige road bikes were being manufactured in Japan.

From the very little information I can find on the internet, I believe my bike is circa 1981. Too early to have been officially made in Japan. Other weirdness is the serial number location and format.

According to Kurt Kaminer's website, Raleigh serial numbers between 1973 and 1982+ all follow a standardized location and format. Serials were stamped on the rear of the seat tube, near the top of the tube. Mine is on the non-drive side of the seat tube, located near the bottom bracket. It was also obviously stamped after the frame was painted, but every photo I've seen of a Raleigh serial number clearly shows they were stamped before painting.

My serial number, S1A1748, cannot be accurately decoded using the standard for the era. The problem here is, the serial for my bike only partly matches this format. My serial is S1A1748. To match the format correctly it would have to be SA1748.
So. I have no accurate idea of when or where my bike was built. It's not a huge issue, it would be nice to know though.

That's it for today, I think.

Tuesday, August 6, 2013

Project Raleigh Super Record 2013/2014

I recently bought a vintage (1981?) Raleigh Super Record on eBay, and I'm planning to use it as a "learn to wrench for myself" project this winter.
Currently, the bike is sitting in its shipping box, but, here's a photo from the original eBay ad, to give some idea of what I'm working with.

As near as I can tell, This bike was built in Japan around 1980/1981. It's difficult to know for sure as there just isn't a lot of information on the internet about the Super Record. It wasn't a top of the line model when new, in fact, it was closer to bottom of the line. It's still a decent bike, it's just not really "valuable" like a Raleigh Professional or Team Professional would be.

The bike was originally equipped with Raleigh-branded Suntour parts, and while everything seems to have a slight coat of rust on it, all the parts are there and in usable condition, except for the chain which will require replacement, and possibly the cables.
I really could just put it back together, clean everything up really good and ride it; and I may do just that.

I sort of have the urge to tinker a bit though. I'm torn between upgrading it with higher-end vintage stuff like Shimano 600 Arabesque, or equipping it with modern Shimano 105, or even some combination of both.
The cost looks to be roughly the same from what I can see on eBay other websites.
Hopefully the bike will tell me what it wants as the project moves forward.

If you would like to follow the progress of this project, I'll suggest that you use the "subscribe by email" link at the bottom of the post. Updates will be fairly infrequent until later this fall when I've managed to accumulate the tools and parts I need. Hopefully once I get going the project will move forward on a regular schedule.